
I’ve mentioned countless times on this blog that I’m obsessed with Dashing Diva’s “Gloss” nail stickers. I’ve been raving about them on my Instagram and various blog posts for almost two years straight. They are the answer to my ideal nomad beauty wishes. They’re an easy, affordable and travel friendly way to always have beautiful nails.
When I first tried Dashing Diva in the beginning of 2024, I was so excited. Finally I had a solution to my personal challenge of being someone who moved around the world monthly, but also really enjoyed having nice nails.
Before I discovered those nail stickers, I carried polish around with me and that literally blew up in my face…multiple times 🙂 . Who knew the pressure of an airplane routinely makes nail polish bottles explode? Not me.
After I started using Dashing Diva I never went back, but for those two years, I only used one kind of their nail stickers: the Gloss line. This winter I decided to branch out and try some of their other products since I now have a homebase where I can store things (talk about a slippery slope 😉 ).
The next step up in complexity is Dashing Diva’s semi-cured gel nail sticker Glaze line that requires a mini LED light that’s actually small enough for me to travel with if needed. My usual Gloss nail stickers come in packs of 32 for $8 and I can usually get 2 full manicures out of them based on my nail sizes. By comparison, Glaze comes with 32 stickers, costs $12-15 and obviously requires a LED light as well.
I mentioned my first experience with the Glaze line in a monthly recap a while back and that I might write a full post about my experiences. This is that post 🙂 .
So do I recommend these Glaze stickers? Are they worth almost double the cost? Let’s see.
The Experience
Application
These are the steps listed on the Dashing Diva instructions:
STEP 1: PREP
- Wash hands with soap and water
- Shape nails and push back cuticles
- Use enclosed Prep Pad to ensure nails are clear from oils and residue
- Make sure your nails are completely dry before application
STEP 2: SELECT SIZE
- Hold the sheet over the nail to find your size. If you are in between sizes, always size down
STEP 3: REMOVE FILM
- Remove the protective film
STEP 4: APPLY
- Gently lift strip from sheet starting from edge
- Place the strip over the center of your nail, starting at the cuticle line and pressing outward. For optimal adhesion, the strip should be placed above the cuticle line avoiding skin or cuticles
STEP 5: PRESS
- Press down firmly from the center, then side to side
- Pro Tip: Spend an extra minute smoothing and pressing down the strip; the more you press, the better the adhesion. Using the manicure stick, gently and thoroughly press down on the strip to seal all edges before curing. This will prevent hair and debris from catching onto the nail strip perimeter
STEP 6: TRIM
- Trim the strip flush to your nails using nail clippers
- Make sure the strip does not exceed your nail length (any overhang will cause lifting, chipping or cracking)
STEP 7: CURE
- Press and hold the button on the back of the Mini LED lamp for at least 1 second to power on
- Cure under the Mini LED Lamp for 60 seconds
STEP 8: FILE
- Position the nail file horizontally along your free edge
- File firmly across your free edge in one direction to remove excess
- Pro Tip: For optimal adhesion, avoid exposing nails to lotions, oils or water for at least one hour after application
Removing Without Acetone
These Glaze nails were really easy to get off with my cuticle oil and wooden cuticle stick method that I use with Gloss nail stickers. I only had to let the cuticle oil sit for about a minute and almost all of the Glaze nail stickers came off immediately. A few took another coat of oil, but this was a way faster process than with Gloss nails, which take me 15 minutes to remove gently with the same method.
Here is my removal process in detail:
- I start by putting oil at the base of all of my nails near the cuticle so they can all start dissolving the adhesive while I work on other nails
- I then rotate between nails, slowing pushing my wooden cuticle stick under the nail sticker and gently pushing it off of my nail
- When I meet resistance, I move to the next nail and when I’m done with a hand, I re-apply oil to all of those fingers so that it can work on the adhesive while I focus on the other hand
Tips
Here are the tips I learned while working with the Glaze strips.
Press
- Definitely do not use the small wooden stick provided in the pack to push down gel nails – it scratches the gel nails, I especially noticed this when using white Glaze nail stickers
Filing
- I can cut the nail stickers with the palm of my hand facing me, which is easier and saves a lot of time. However, if I do that, I should cut it a little longer than I think because it’s too short otherwise in my experience
- Batching helped me a lot – I would put a sticker on both of the same fingers and then cut them both and then push them down and go to the LED light. It seemed more streamlined that way
Curing
- Pushing down each single finger before immediately curing so it more closely adhered to the nail helps, but as you’ll see below, it’s not foolproof
- However, pushing down each sticker immediately before curing also means curing one finger at a time, which makes the curing process take 7.5 minutes total instead of 90 seconds total as instructed, which isn’t be ideal. However, I can cut it to 3.75 minutes if I do 2 fingers at a time
My Thoughts
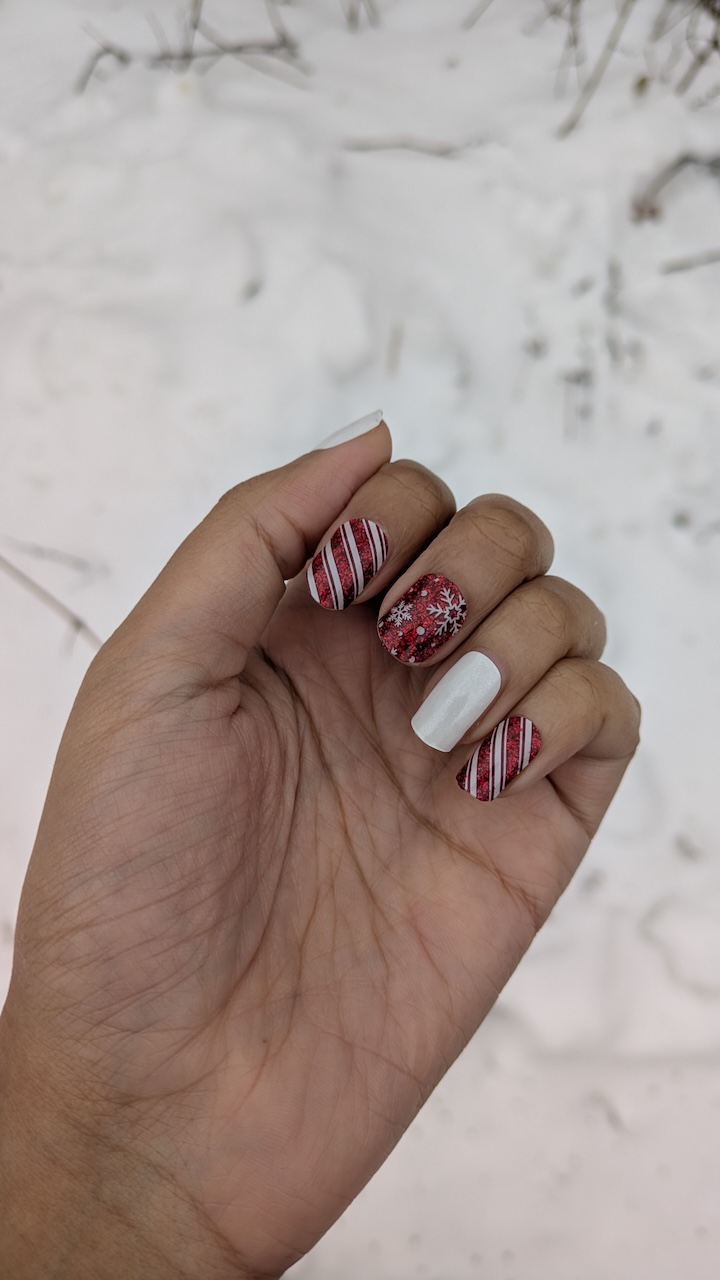
Attempt #1: Just My Blood Type
Unfortunately, my first impression was not a great one 🙂 . While it’s nice that these Glaze stickers are thicker than Gloss so they don’t show imperfections in the nail, the Glaze stickers look more fake than Gloss – perhaps because they’re thicker.
It looks like something is sitting on my nail instead of actually a part of it, like nail polish or Gloss nail stickers. The nails also look a bit bumpy, which lends to the thought that something is on my nail.
And worse, these Glaze stickers are slightly raised from the nail after the LED curing so they catch on things, like my hair when I’m trying to put it in a bun, which I found really annoying 🙂 . By comparison, Gloss stickers are flush to my nail so I’ve never had this problem with them.
And then on Day 4 of using Glaze for the first time, the worst thing happened – one of my Glaze nails just fell off, which has NEVER happened with my Gloss stickers. In fact, I think my record for wearing one set of Gloss nails is 5 weeks and none have ever fallen off or even started peeling.
After my Glaze nail popped off 4 days in, I redid that nail and then 4 days later, it popped off again! Literally, WTF?!?!?
The fact that they come off so easily makes me not want to use them for a trip for example, which was the main reason I thought they existed – to be more sturdy than Gloss, not less. At this point I was very disappointed, but I wanted to make sure my findings weren’t a one-off so I tried again!
Attempt #2: Gift Wrapped
At first I was feeling hopeful. I thought my previous issues were a result of user error and me not knowing how to best apply these new-to-me nails. Unfortunately, that was not the case, but you’ll see 🙂 .
In the beginning, my experience was going a lot better. I had a better handle on how to handle the Glaze strips, such as the tip I shared above of pushing down each individual nail right before using the LED light to harden it.
I also think I was better at assessing my correct size on Glaze since it’s thicker than Gloss and as a result, has a slightly different size. Originally I was enjoying these nails more this time around and even contemplating turning my review from a negative one to a lukewarm one when something happened.
I went to put up my hair one night and my pinkie AND thumb nail POPPED OFF and also damaged my pinkie nail while ripping off. WHAT THE ACTUAL FUCK?!? I was literally just putting my hair up – not running my hands through tangles or anything and my nails not only popped off, but one was damaged from it. That nail was on TIGHT and still didn’t stay down.
By comparison, I have thick curly hair that I de-tangle in the shower with my nails and I have NEVER had any issue with this while wearing Gloss nails, but Glaze completely messed up my hair even while dry (ripping strands out) and my nails (ripping a layer off). I was very disappointed. However I thought: it’s only my second attempt. Maybe it’s me, maybe I should give them another chance.
So the next morning I reapplied a new pinky nail and then the next day, I was just putting things in my purse – nothing strenuous, and my middle finger popped off. Later that day I took another shower and 3 more of my nails popped off. Literally what the fuck y’all?
At this point I was pissed. This Glaze line that was seemingly advertised to be MORE hardy than the more normal and easy-to-use Gloss line is literally the opposite. It falls off with normal, light life wear and tear and has very much disappointed me.
And yet, something worse happened. So I’ve used Gloss nails at most a year after I bought them. They’re still perfectly fine if I’ve packed them so they don’t get stuck together (I use the shiny and opaque packing strips between them that come in the box to prevent this).
However, Glaze strips harden quickly even when they are in the blackout box they come in. Meaning, if I don’t use them immediately, they’re useless. Deep sigh.
Worth It?
As a result of all of the above, the Dashing Diva Glaze line is not for me. The Glaze nail stickers don’t give me the feeling of fanciness I’m used to from the Gloss nail stickers and more importantly, barely last longer than painted nails.
These nails don’t last long at all and that is something I can’t get over. I originally thought the opposite – that using a LED light to harden a nail that’s thicker than the Gloss nail stickers would be MORE durable, but instead it’s less.
I originally thought I would wear these Glaze nails when I go on a long beach trip, for example, where bringing all my nail stuff would be less than ideal. However, I can’t do that because based on my experiences, my nails would fly off immediately.
By comparison, my Gloss nails have never in 2 years (even when I wear the same pair for 5 weeks) acted like that. And Glaze nails cost twice as much and require more than twice as much work because of the clipping AND filing AND the LED light.
Then afterward they got caught in my hair and would randomly fly off. And to top all this off, if I don’t use these Glaze nails almost immediately (even if I keep them in their blackout case) they harden and quickly become unusable.
Conclusion
So that was disappointing 🙂 . Glaze nail stickers sadly aren’t for me and I won’t be buying them again.
Instead I’ll stick to the Dashing Diva Gloss line because that’s what works for me. However, I wanted to share my experience in case these nails sound like something that would work for what you’re looking for or if you’re just curious about the nail options that are out there.